Last updated October 16, 2026







Free written scope consultation - allowances, timeline, and change-order rules on paper before a single trade is scheduled
General Contractor Maintenance Checklist for Tampa Homeowners
A loose ridge cap in January is a $200 fix. That same ridge cap after a Category 1 pass-over becomes a $14,000 interior replacement. Tampa maintenance isn’t about seasons. It’s about closing the windows before the storm, literally and structurally. This guide is built for homeowners who want the straight version: what fails first in Tampa’s climate, when to inspect it, and why the calendar is the wrong tool for a city with two seasons – wet and dry – and a six-month hurricane window that punishes deferred work with compounding damage costs.
Styles & brands we work with





Quick Answer
The most useful general contractor maintenance checklist for Tampa homeowners is organized around three local failure points: salt air corrosion within five miles of the bay, the June-through-September rainy season that pushes water through every small opening, and hurricane prep that must be completed before June 1. A proper Tampa maintenance year is really two inspection passes – one in late April or May before the rains, and one in late October or November after hurricane season closes – plus monthly visual checks on drainage, fasteners, and flashing. The full checklist below covers what to look at, what it costs when you catch it early, and what it costs when you don’t.
Table of Contents
- The Tampa Maintenance Calendar: Why Spring and Fall Don’t Apply
- Salt Air Corrosion: The Checklist for Homes Within Five Miles of the Bay
- Rainy Season Preparation: June Through September
- Stucco Inspection in Tampa’s Wet-Dry Cycle
- Documenting Maintenance for Florida Insurance Claims
- What a Licensed General Contractor Catches That a DIY Walkthrough Misses
- Common Mistakes to Avoid
- When to Call a Professional
- Frequently Asked Questions
- The Bottom Line
The Tampa Maintenance Calendar: Why Spring and Fall Don’t Apply
National home maintenance guides tell you to clean gutters in spring and check weatherstripping in fall. That advice is written for a climate with four seasons and a predictable freeze-thaw cycle. Tampa has neither. What Tampa has is a dry season from roughly October through May, and a wet season from June through September that delivers roughly 60 inches of rain in a concentrated window. The ground saturates. Humidity stays above 80%. Anything loose, cracked, or corroded gets tested hard for four straight months.
So the Tampa maintenance calendar splits the year into two passes. The first pass happens in late April or the first half of May, before the afternoon thunderstorms settle in. This is the get-ready pass: clear drainage paths, seal openings, check the roof, and confirm that every penetration through the exterior envelope is closed. The second pass happens in late October or November, after the last storm has moved through and the air dries out slightly. This is the repair pass: address the water damage you could not see in June, replace what the summer ate, and prep for the mild months.
Between those two passes, you run a monthly visual loop. Walk the property with a specific eye: standing water, staining, loose flashing, swelling around windows, new cracks in stucco. Ten minutes a month catches 80% of what becomes a four-figure repair.
Salt Air Corrosion: The Checklist for Homes Within Five Miles of the Bay
Tampa sits on Tampa Bay, and the neighborhoods closest to the water – Davis Islands, Bayshore Beautiful, Beach Park, Palma Ceia on the northern end, and the South Tampa peninsula generally – live with a slow, invisible problem: airborne salt. Salt accelerates oxidation on every exposed metal surface. Fasteners rust through. Flashing develops pinholes. HVAC condenser coils corrode and lose efficiency. Steel lintels above windows and doors rust, expand, and crack the surrounding masonry or stucco.
If you live within five miles of the bay or the Gulf, your inspection list includes items a homeowner in Carrollwood or New Tampa never has to think about:
- Roof fasteners and flashing: Look for rust staining around nail heads on metal flashing, valley metal, and ridge caps. Rust streaking is the first sign that fasteners are failing. On asphalt shingle roofs, check for lifted shingles where corroded nails have lost grip.
- Exterior steel lintels: Above exterior doors, garage doors, and larger windows, check for rust-colored staining bleeding through painted surfaces. A rusting lintel expands as it corrodes, which cracks stucco or brick. Treating the lintel early – wire brushing, rust converter, and repainting – costs a few hundred dollars. Replacing a failed lintel can run $1,500 to $3,000 depending on access.
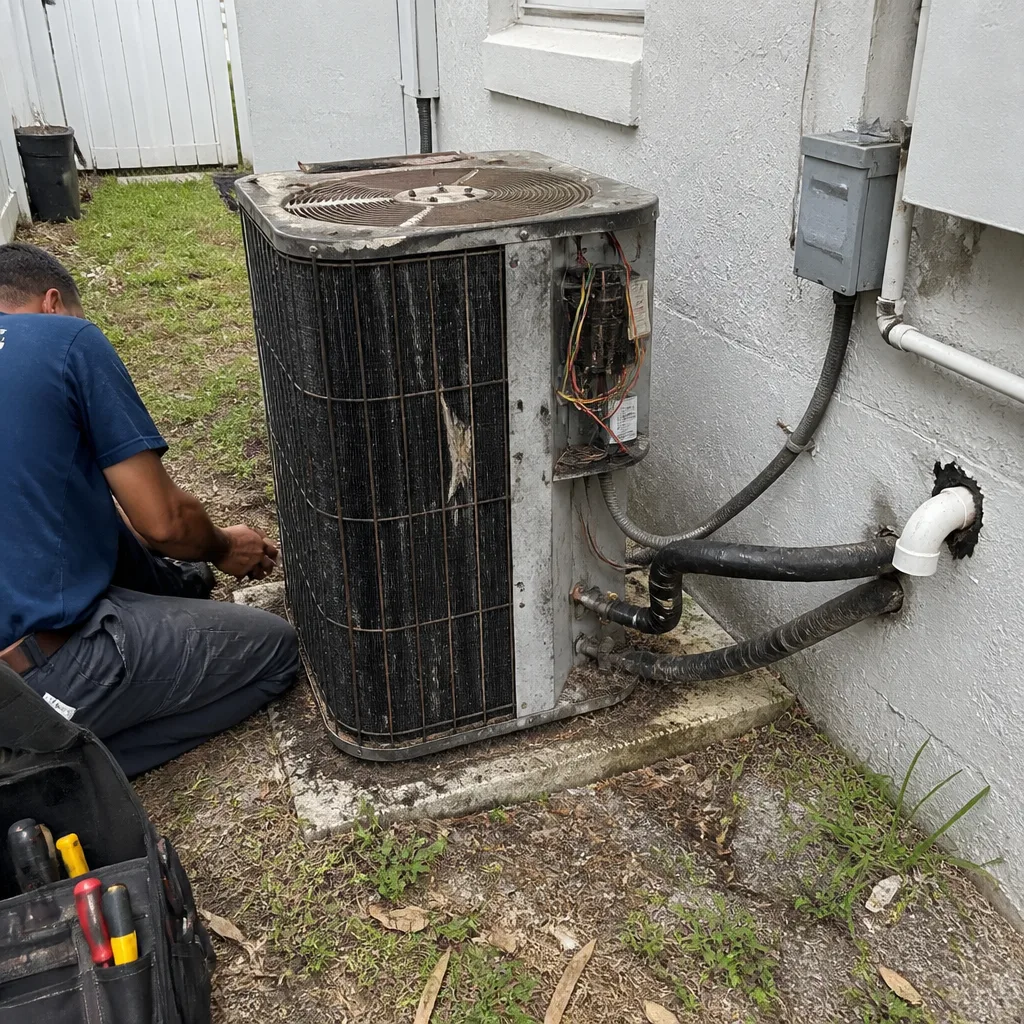
- HVAC condenser unit: Inspect the fins on the outside unit. Corroded fins reduce heat exchange, drive up cooling bills, and shorten compressor life. Coastal HVAC units in Tampa typically last 8 to 12 years versus 15 to 20 inland. Rinsing the coil with fresh water monthly during the cooling season slows the damage.
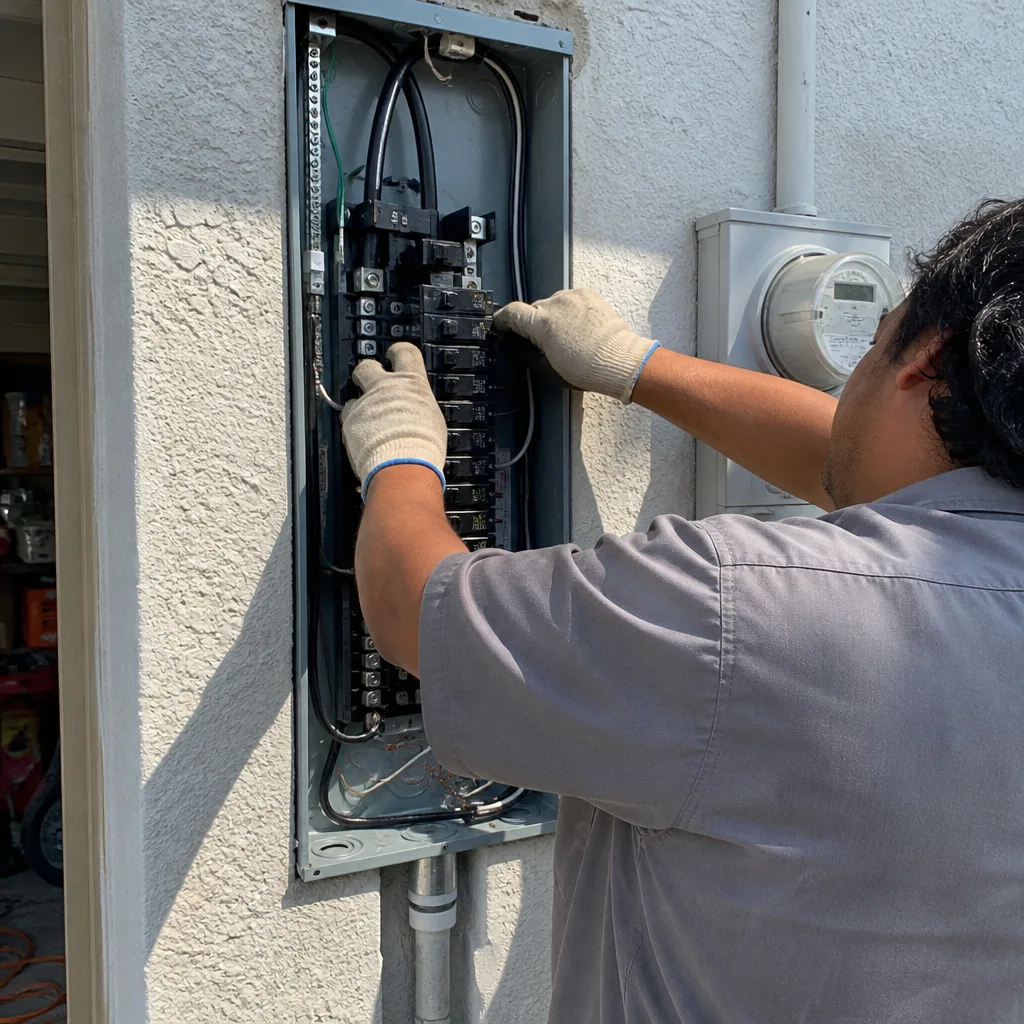
- Exterior electrical fixtures: Check outdoor outlets, light fixtures, and junction boxes for corrosion on contacts and housings. Salt air plus humidity is hard on electrical connections. Where fixtures show green or white crust, they need replacement.
- Deck and fence hardware: Galvanized or stainless steel fasteners hold up. Plain steel does not. Check the screws, brackets, and hangers on any deck, dock, fence, or pergola within salt-spray distance. Swap out corroded connectors before the wood itself rots around them.
- Window and door hardware: Locks, hinges, and tracks on coastal homes corrode faster than inland. If a lock is getting stiff, replace it now. A stuck lock at the wrong time is a bigger cost than a $30 new latchset.
The salt air checklist should run at least twice a year – once in April before the rains, and once in November as hurricane season ends. Between those, if you see rust staining anywhere, don’t wait.
Rainy Season Preparation: June Through September
Tampa’s rainy season is not a suggestion. From roughly June 1 through the end of September, the city receives the bulk of its 60-inch annual rainfall in the form of intense, short-duration thunderstorms. Water comes down fast, the ground cannot absorb it fast enough, and every weakness in your home’s water-shedding system gets exposed. The goal of rainy season prep is simple: get water away from the building fast.
Here is the numbered prep sequence to run in late April or early May:
- Clean and test the entire drainage path. Gutters, downspouts, French drains, channel drains, swales, and catch basins. In Tampa, a clogged gutter overflows into flower beds near the foundation, saturates the soil, and creates hydrostatic pressure against the slab or stem wall. That pressure forces water through the tiniest crack. Clean the gutters, then run a hose through every downspout to confirm water exits where it should.
- Check grade and slope. The ground should slope away from the foundation at least six inches over the first ten feet. In older Tampa neighborhoods like Seminole Heights and Tampa Heights, decades of settling often reverse the grade. If water runs toward the house, regrading with compacted fill is a real fix – $800 to $2,500 depending on the area – while a French drain installed at the problem spot costs $1,200 to $3,500.
- Inspect all exterior seals and caulk joints. Around windows, doors, hose bibs, electrical penetrations, and roof penetrations like vents and pipes. Tampa humidity and UV break down sealant fast. Cut out cracked or pulled-away caulk and recaulk with a quality exterior-grade product. This is a $50-to-$100 job in materials and a Saturday morning of labor – and it prevents the slow seep that becomes wood rot or interior staining.
- Test the roof for wet-weather readiness. Walk the roof or use binoculars: inspect ridge caps, valley metal, pipe jacks, and chimney flashing. In Tampa, valley metal and pipe boots fail more often than shingles. A loose ridge cap in January is a minor repair. Let it go until August and a wind-driven rain will find it.
- Check windows and doors for weep holes and drainage tracks. Sliding glass doors and windows in Tampa are common leak points. Confirm the weep holes at the bottom of the frames are clear. If they are clogged, rainwater backs up inside the frame and spills into the wall cavity.
- Verify attic ventilation. Hot humid attic air condenses on the underside of roof sheathing, drips onto insulation, and grows mold. Soffit vents, ridge vents, or gable vents need to be open and unblocked. In Tampa attics, a passive ventilation system that worked at installation can be compromised by blown-in insulation shoved into the soffits. Check every soffit vent from below with a flashlight while standing in the attic. This inspection also tells you whether the HVAC ducts are sweating – a sign of inadequate insulation or unbalanced airflow.
Stucco Inspection in Tampa’s Wet-Dry Cycle
Stucco is common across Tampa, from the 1920s bungalows in Hyde Park to the newer Mediterranean-style spec homes in Westchase and FishHawk Ranch. Stucco performs well in Tampa when it is intact. The problem is that Tampa’s wet-dry cycle – four months of heavy rain followed by eight months of hot sun – puts stucco through repeated expansion and contraction. Hairline cracks appear. Some are cosmetic. Some become water intrusion pathways. Knowing the difference saves thousands.
Here is what we look for on a stucco inspection, and what it means:
- Hairline cracks under 1/16 inch, not near openings: These are usually shrinkage cracks from drying or minor thermal movement. They are cosmetic in most cases. Seal them with a flexible elastomeric caulk rated for stucco to keep water out, but do not panic over them.
- Hairline cracks that form a stair-step pattern: On stucco-clad block or frame homes, stair-step cracks often follow mortar joints in underlying block or stress points in the frame. If the crack runs in steps and is growing, get a professional look. These can indicate the structure is settling or the framing is moving.
- Vertical or diagonal cracks wider than 1/16 inch: These are water entry points. In a Tampa rainy season, water gets behind the stucco and travels down the inside face of the building paper or housewrap. It then exits at the weep screed at the bottom – or it doesn’t, and the bottom plate of the wall, the insulation, and the interior drywall pay the price.
- Cracks radiating from corners of windows and doors: Openings are stress concentrations. In Tampa, where every afternoon thunderstorm follows a hot day, the movement is constant. Cracks at the corners of openings are the most common leak sources we see on stucco homes. Seal them with elastomeric caulk, and if they are wide enough to fit a nickel, get the flashing checked behind the stucco.
- Bubbling, peeling paint, or white chalky residue on the surface: Efflorescence – that white powder – is moisture moving through the stucco and depositing salts on the surface. If you see it, water is getting in somewhere. Do not paint over it. Find the water source first.
- Soft, hollow, or crumbling spots when tapped: Use the back end of a screwdriver to tap stucco in suspect areas. Solid stucco rings. Delaminated or rotten stucco sounds dull and hollow. Crumbling stucco means water has been at work for a while. The fix at that point is not caulk – it is removal and patching of the affected area, often with new lath.
The wet-dry cycle also affects stucco around the base of the wall. If soil or mulch sits above the weep screed at the bottom of the stucco, the system can not drain. Keep soil and mulch at least four inches below the bottom of the stucco finish.
Documenting Maintenance for Florida Insurance Claims
Florida insurance carriers have become aggressive about denying claims based on long-term water damage, rot, or deferred maintenance. The logic is straightforward: if a roof leak rotted the sheathing over three years, that’s maintenance, not a covered loss. What protects you is a documented maintenance trail that shows you inspected, identified, and addressed problems in a reasonable time frame.
Here is the documentation protocol we recommend for every Tampa homeowner:
- Photograph everything. Every roof inspection, every sealant repair, every gutter cleaning, every post-storm check. Phone photos with embedded timestamps and GPS location data are the simplest record. Organize them by date and area in a cloud folder.
- Keep receipts for every professional repair. Roof repairs, stucco patching, flashing replacement, drain work, HVAC coil replacement, window resealing, everything. The receipt is the proof that the problem was corrected, not ignored.
- Note the date, the problem, and the action taken in a log. A simple spreadsheet or even a notes app entry works. “April 27: noticed rust staining on garage lintel. Sanded, treated with rust converter, repainted. Receipt #1482.” That one line is the difference between a claim that gets paid and a claim that gets denied for pre-existing rust.
- Photograph the property after any named storm passes. Before you file a claim, document the condition. If the adjuster sees the damage a week later after you have made temporary repairs, you need the before-and-after record. Photograph tarps, temporary patches, and any standing water immediately.
- Keep a record of the annual roof inspection. Florida insurers increasingly ask for proof of a roof inspection, especially for homes with shingle roofs older than ten years. A dated inspection report from a licensed roofing contractor or General Contractor in Tampa is a powerful piece of paper.
- Document the hurricane season pass. The May prep pass and the November post-season pass, documented with photos and receipts, show a consistent pattern of maintenance. That pattern matters when a claim hinges on whether the damage was sudden and accidental or long-term and neglected.
The exact insurance requirements vary by carrier and policy language. Read your policy’s maintenance and condition clauses. Some carriers specify inspection frequencies. You can not defend against a denial you do not know is coming.
What a Licensed General Contractor Catches That a DIY Walkthrough Misses
A homeowner’s walkthrough catches the obvious: a broken shingle, a sagging gutter, a cracked patio slab. A licensed general contractor’s walkthrough catches the things behind and beneath the obvious, because that is where Tampa homes actually fail. Here is what a trained eye sees that a typical homeowner misses, and the trade terms to ask about:
- Substrate condition under siding and stucco. The substrate is what the finish material attaches to – the sheathing, the housewrap, the framing. A contractor checks the substrate at points of entry: around windows, at the base of walls, at roof-to-wall intersections. You see a crack in the stucco. The contractor sees the path water took from that crack to the bottom plate.
- Soffit and fascia integrity at the eave line. The soffit is the underside of the roof overhang; the fascia is the vertical board the gutter mounts to. In Tampa’s wind-driven rain, water is often pushed up under the eave. Rot at the soffit and fascia is one of the most common wood rot sites in Tampa homes, and homeowners rarely look up far enough to see it.
- Flashing details at roof penetrations and transitions. Flashing is the sheet metal that directs water away from seams – around chimneys, skylights, vent pipes, and the intersections where a roof meets a wall. Most DIY checklists say “check the roof.” A contractor checks every flashing detail individually, because that is where 80% of Tampa roof leaks originate, not in the field of shingles.
- Rough-in infrastructure behind finished surfaces. The rough-in is the plumbing, electrical, and HVAC work that goes into the walls before drywall. A contractor walking a home that is about to be remodeled checks the rough-in for aging materials: polybutylene piping, aluminum wiring, undersized vent stacks. These are not visible on a casual walkthrough, but they determine whether a Home Remodeling in Tampa project starts clean or starts with a surprise.
- Load path and structural connections in the attic. In the attic, a contractor looks at how the roof structure is tied together: rafter-to-plate connections, collar ties, ridge board condition, and whether the trusses or rafters have been notched, cut, or drilled improperly. In a hurricane-prone location like Tampa, these connections are what hold the roof on.
- Drainage plane continuity at the foundation line. From ten feet back, a contractor sees whether the finished grade slopes correctly, whether mulch is piled against the foundation, whether sprinkler heads are directing water at the house, and whether the downspouts discharge far enough from the slab. These are the inexpensive fixes that prevent the expensive foundation problems.
When you hire a contractor for a walkthrough, ask these questions directly: “What does the flashing look like at the roof-to-wall transitions?” “Any sign of rot in the soffit or fascia?” “Is the grade draining away from the slab?” The answers tell you whether you are talking to someone who inspects, or someone who glances.
Common Mistakes to Avoid
- Skipping the April prep pass because it hasn’t rained yet. By the time the rain starts in June, the window for exterior caulking, gutter work, and roof repairs is closing fast. Contractors in Tampa book out weeks ahead of rainy season. The homeowners who call in June wait until August for a leak repair that would have been a one-day April job.
- Using interior-grade caulk on exterior joints. Interior latex caulk does not survive Tampa’s UV exposure and humidity cycles. It cracks in a season, the gap reopens, and the water gets in. Use exterior-rated elastomeric or polyurethane caulk on anything that faces the weather. Material cost difference is about $4 a tube. Repair cost difference is hundreds.
- Ignoring rust staining because it is “just cosmetic.” In salt-air zones, rust staining is a structural warning, not a paint problem. By the time a fastener rusts through, the connection it held is no longer doing its job. A $2 stainless steel screw replaced in April prevents a several-hundred-dollar repair in November.
- Power-washing stucco. High-pressure water drives moisture behind the stucco and into the wall. It also erodes the finish coat. Clean exterior stucco with a soft wash or a garden hose and a soft brush. You want the water off the house, not in it.
- Painting over efflorescence or water stains without finding the source. Paint seals the symptom, not the problem. The water is still getting in behind the finish, and now it is trapped there. Locate the leak, fix it, let the surface dry out, then repair the finish.
- Treating gutter cleaning as optional. In a city that gets 60 inches of rain in concentrated bursts, gutters are a core part of the drainage system, not an accessory. A clogged gutter fills with water, overflows into the soil at the foundation, and saturates the ground around the slab. Clean gutters are not a nice-to-have. They are a structural defense.
- Documenting nothing and expecting the insurance company to take your word for it. Florida insurers see thousands of claims a year. A homeowner with a three-year photo log, receipts, and dated notes is categorically different from a homeowner who says “we maintained it.” The paperwork is the difference between a paid claim and a contested one.
When to Call a Professional
Some maintenance tasks are straightforward for a homeowner. Others are not. Call a professional when you see stair-step cracks in stucco that are growing, when you find soft or crumbling stucco, when rust staining suggests structural fastener loss, when water is pooling against the foundation after every storm, or when attic inspection reveals moisture staining on the sheathing or trusses. These are not caulk-and-paint issues. They are diagnosis issues, and the diagnosis matters.
If you are preparing for a larger project – a Kitchen Remodeling in Tampa, a bath addition, a whole-home renovation – the maintenance pass is the right time to have a contractor walk the property. You find the hidden defects before they are behind new drywall. Bradford Remodeling Co Tampa offers free estimates in Tampa – call (941) 655-9297 to schedule a walkthrough. Every visit comes with a written assessment and a written price before any work starts.
Frequently Asked Questions
Expect to pay $200 to $450 for a licensed contractor’s comprehensive maintenance walkthrough in Tampa, depending on home size and access. At Bradford Remodeling Co Tampa home, we do not charge for the estimate; the maintenance walkthrough is part of a free estimate when you are planning work with us. A written assessment identifies what needs attention now, what can wait, and what it will cost. Call (941) 655-9297 for a free estimate.
Run a monthly ten-minute visual loop – drainage, flashing, staining, new cracks – and do two thorough passes per year: one in April or May before the rainy season, and one in October or November after hurricane season ends. For a deeper dive on year-round upkeep, see our Seasonal Construction Care for Tampa: Year-Round Homeowner’s Guide. Add an additional check right after any named storm passes within 50 miles of Tampa.
Yes. Homes within five miles of Tampa Bay or the Gulf see fastener corrosion, HVAC coil degradation, and flashing failure at two to three times the rate of inland homes. A steel screw that lasts decades in Lutz may rust through in five years on Davis Islands. Salt air is an active corrosive agent, and homes in coastal zones need more frequent metal inspection than the rest of Tampa.
The best time is April or early May, before the wet season starts and before contractors book out. That gives you time to address any findings before the afternoon thunderstorms arrive in June. The second-best time is late October or November, after hurricane season, when the summer’s damage can be assessed and repaired during the dry months.
Florida insurers routinely deny water damage claims when the damage shows evidence of long-term, progressive deterioration. That is why documentation matters. A dated photo log, service receipts, and a written maintenance record establish that you inspected and repaired issues in a timely way. The documentation does not guarantee approval, but its absence makes denial much more likely. For more guides & resources, explore our blog. To learn more about how to document your maintenance, see the documentation section above.
After a heavy rain, check around window and door corners for new cracks, examine the bottom of exterior walls for dampness or discoloration, and look for water staining on the interior around openings. Hairline cracks that go away when the wall dries are normal thermal movement. Cracks that stay open are water pathways. If you see interior staining after a storm, schedule an inspection before the next storm arrives.
The Bottom Line
Tampa maintenance is two passes a year, monthly visual loops, and aggressive documentation. You prepare in April for the rains that start in June, and you repair in November after the storms that end in October. If you are within five miles of the bay, add salt-air corrosion to every pass. If your home has stucco, know the difference between a cosmetic hairline and a water pathway. If you maintain it, document everything – because Florida insurers ask for receipts, not recollections. Do the work before the storm, and a $200 fix stays a $200 fix. Wait, and the same problem becomes a claim, a renovation, or both. General Contractor in Tampa services from Bradford Remodeling Co Tampa are available for inspections, repairs, and remodels throughout the Tampa area. Call (941) 655-9297 for a free estimate.
Written by Curtis Lane, Owner at Bradford Remodeling Co Tampa, serving Tampa since 2004. Learn about our General Contractor services.
See the difference
 Before
 After
After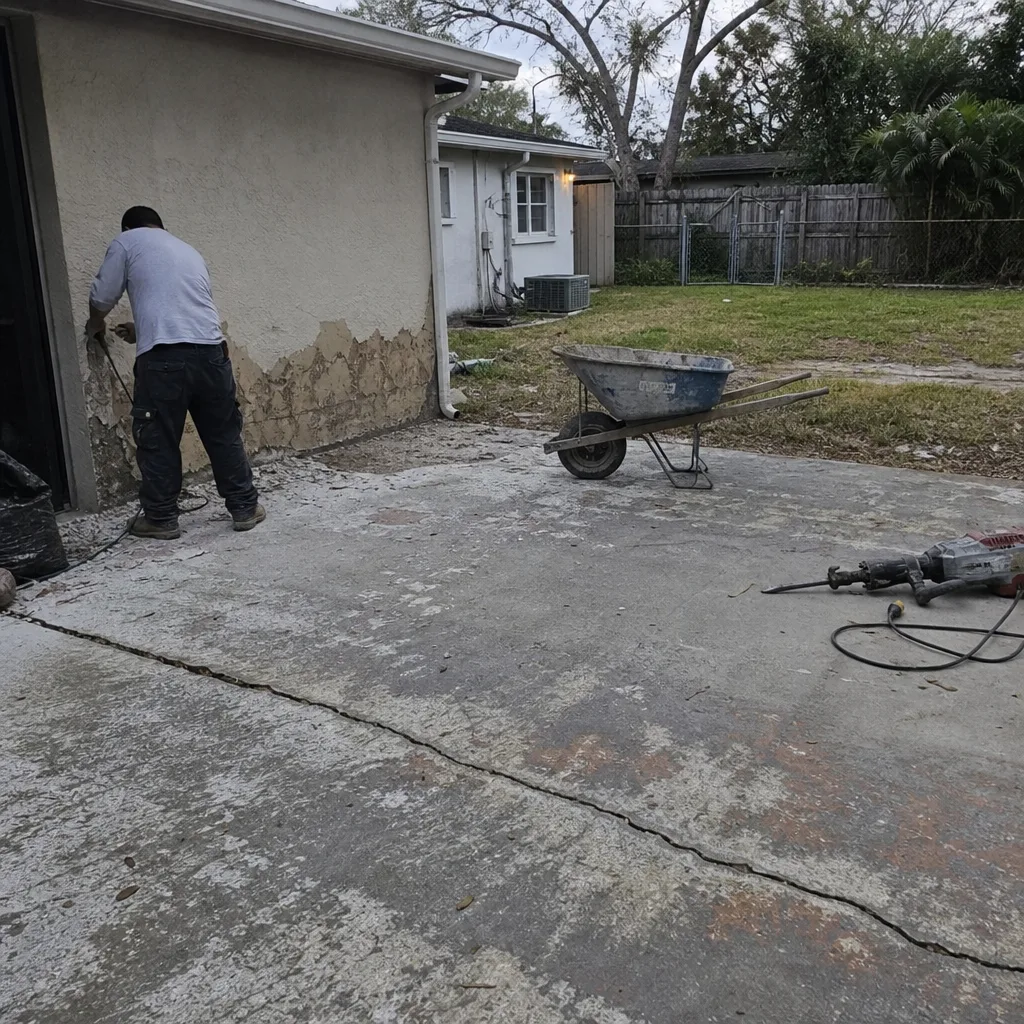 Before
 After
After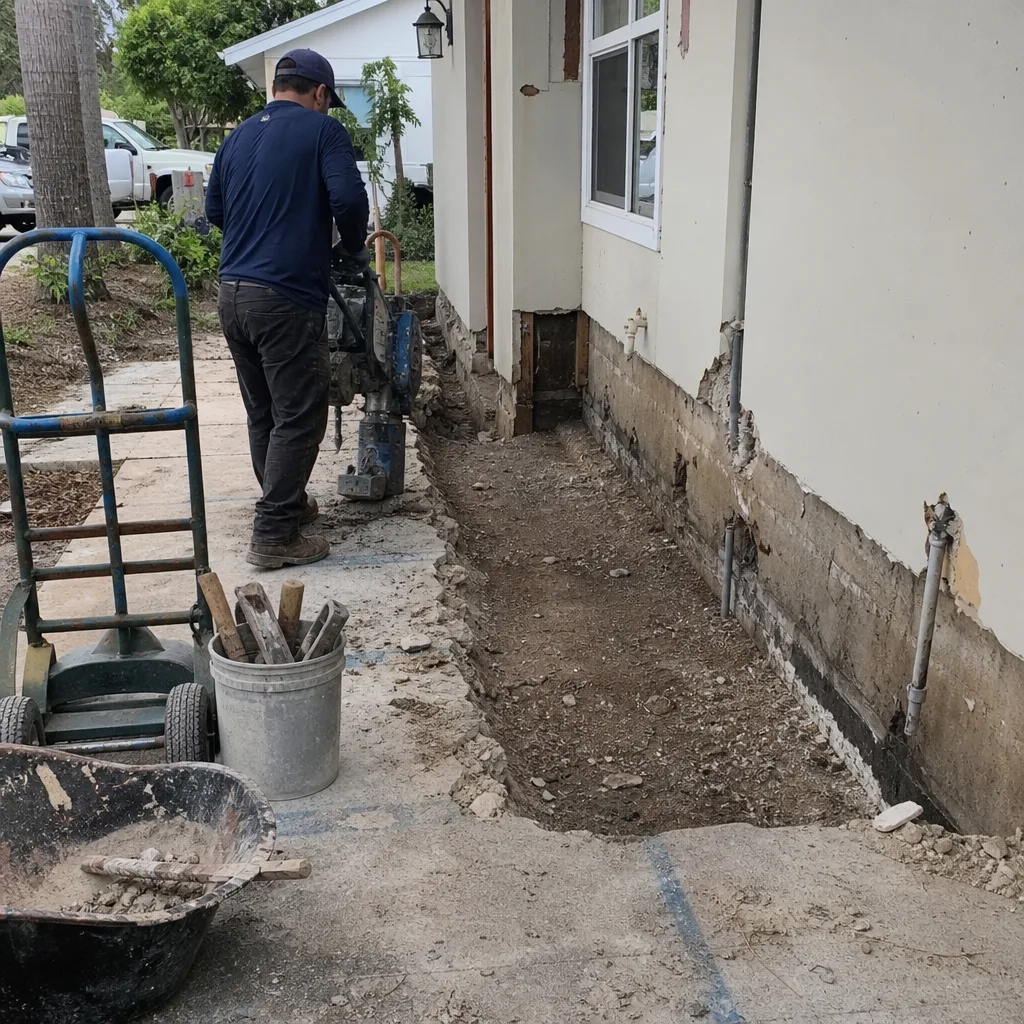 Before
 After
After